
You’ll pick ripe Navels or Valencias, rinse and dry them, then halve or peel. Remove seeds and excess pith. Use a hand reamer, squeezer, or electric juicer to extract juice, adjusting speed and pressure. Blend for uniform texture if you like, then strain through a fine mesh or cheesecloth for clarity. Chill in sterilized glass, label and refrigerate at about 4°C for three to five days. Keep going to learn tips for yield and storage.
Gather Fresh Oranges and Supplies
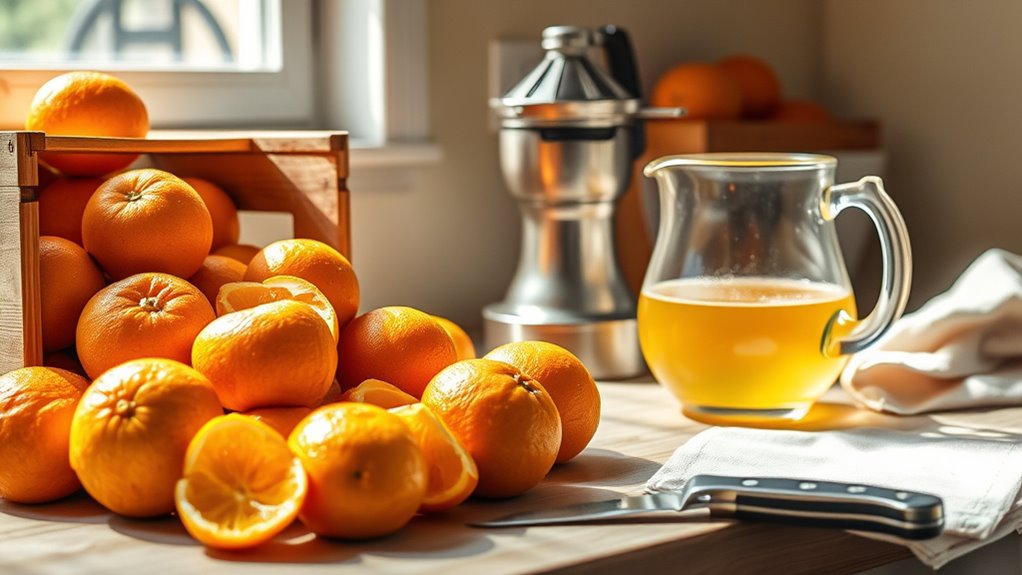
Start by choosing ripe, high-juice oranges — Valencias are ideal, Navels and Cara Caras work well too. Valencia oranges are especially prized for their high juice content. Bring them to room temperature to maximize yield; gather a citrus juicer or reamer sized for your fruit, a sharp knife for halving oranges horizontally, a strainer if you want pulp removed, and a clean container to catch the juice.
Select Valencias for maximum yield and balanced sweetness; choose Navels for easy, seedless juicing and fuller pulp; pick Cara Caras when you want berry-like complexity and slightly pink juice. Use Hamlin for mild, low-acid juice in winter, and clementines if you need very sweet, small fruit—expect more units per batch.
Note seasonal availability so you buy peak fruit for best flavor and yield, and freshness.
Rinse and Dry the Oranges
Before juicing, rinse each orange under cool running water to remove dirt, dust and handling residues; if you see wax or stubborn grime, scrub gently with a soft brush or soak 10–15 minutes in a mild baking-soda solution and rinse thoroughly. For best results, allow oranges to reach room temperature before juicing to increase juice release.
After rinsing, pat each orange dry with a clean paper towel or kitchen cloth to remove surface moisture and prevent slipping when you cut or juice. If you won’t juice immediately, place oranges on a clean rack or plate to air dry to avoid bacterial growth.
After rinsing, pat oranges dry with a clean towel; if not juicing immediately, air-dry on a clean rack
Don’t use cloths used on other foods to prevent cross-contamination. Thorough drying keeps juicing equipment cleaner and prevents water from diluting juice.
Handle fruit gently to avoid bruises that can affect flavor and yield, preserving taste overall.
Peel or Halve According to Method
With your oranges clean and dry, decide whether you’ll remove the peel entirely or simply cut each fruit in half—each method affects flavor, yield and how you’ll juice.
If you peel, use a sharp knife or peeler to remove rind and zest, exposing flesh for direct manual or mechanical extraction; this minimizes peel oil contamination and reduces bitterness from limonene and flavonoids.
Peeling takes more time but lets you reserve zest or dry peels for later.
If you halve, cut through the equator and juice by pressing or reaming; the rind stays intact, giving a better grip and often slightly higher yield, though vigorous pressure can release peel oils and astringency.
Choose by equipment and desired flavor profile.
Consider time, taste and waste too.
Remove Seeds and Excess Pith
Although it takes a little extra time, remove seeds and any thick white pith first to prevent bitterness and clogging during extraction.
Start by inspecting halved or peeled segments and pluck visible seeds with your fingers or tweezers. For halved fruit, press pulp with a fork to release juice while keeping seeds intact. Avoid scraping deep into the rind when separating pulp from pith.
If you blend, pulse only 2–3 short bursts to break pulp but not seeds, then strain. After juicing, pour through a fine sieve and use a spoon to press pulp against the mesh; repeat if needed to remove remaining pith and seeds.
This reduces bitter oil, prevents sieve clogging, and improves texture. Do this before moving on to juicing methods.
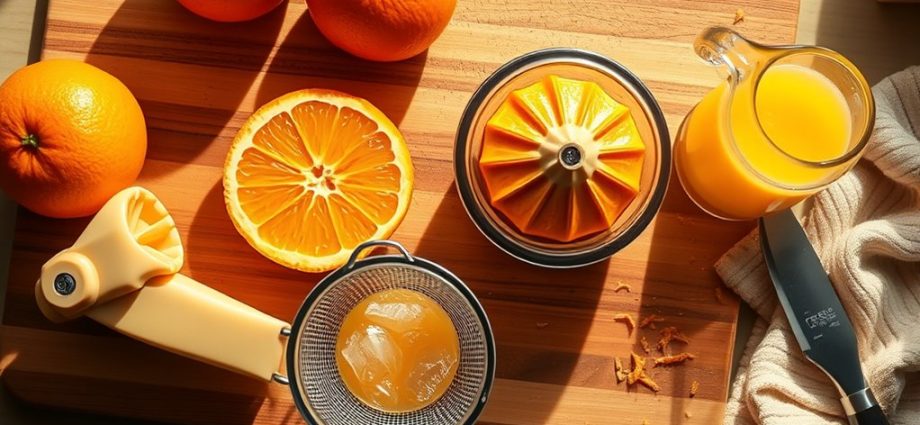
Choose a Juicing Method
When choosing a juicing method, decide what matters most to you—yield, aroma, mouthfeel, or minimal bitterness—and pick accordingly.
You’ll favor reamer-type or squeezer hand units for simple home use: reamers keep more pulp and suit uniform, ripe Florida-style oranges; squeezers tolerate variable sizes but increase oil and damaged pulp.
Choose a reamer for pulp-rich, uniform Florida oranges; use a squeezer for variable sizes, accepting more oil.
If you want higher aroma and nutrient retention choose masticating (cold-press) or triturating (twin-gear) units; they preserve volatiles and reduce bitterness though yields may be lower.
Centrifugal machines boost production and extraction percentage, especially with peeled pulp, but can elevate oxidative loss and heat.
Commercial-scale extractors maximize recovery and oil content, affecting cloud stability and mouthfeel. Match machine traits to your priorities—efficiency, sensory profile, or low bitterness—and select accordingly.
Revisit choices as fruit quality varies.
Extract the Juice
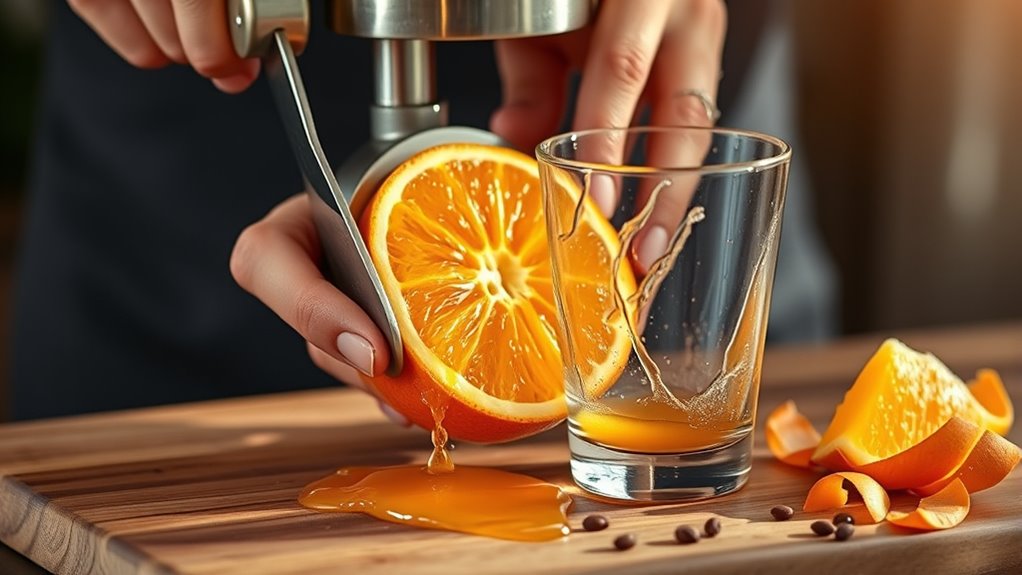
Start extraction by feeding sorted fruit into the extractor that fits your scale and goals—reamers or strainers for small batches, rotary or press systems for higher throughput—and set pressure and speed to match fruit size and ripeness.
Operate the chosen extractor to cut, squeeze, or press fruit, directing juice through strainers to collection manifolds while peel and cores discharge separately.
Monitor pressure and rotation speed to avoid early peel disintegration; excessive peel breakage releases oils and bitter compounds.
Remove seeds promptly to improve clarity. Collect juice while diverting peel fragments for washing and oil recovery if needed.
Adjust throughput to maintain consistent yield and quality.
Screen extracted juice to remove large solids before post‑extraction treatments.
You should record settings and yields for process control.
Blend and Adjust Texture (Optional)
Pulse or blend segmented oranges on low–medium speed for about 20–40 seconds—using short bursts—to liquefy flesh without pulverizing seeds or overworking pulp.
Watch texture and stop when juice looks smooth but not frothy; over-blending extracts bitterness from seeds and pith. Adjust total run time for fruit ripeness and juiciness.
Stop when juice is smooth, not frothy—overblending draws bitterness from seeds and pith.
To reduce pulp, strain through a fine mesh and press solids with a spoon to extract more liquid. Keep some pulp if you want fuller mouthfeel. Compost or discard strained solids to avoid off textures.
For thinner consistency, add small amounts of filtered water or a few ice cubes and pulse briefly; avoid excess dilution.
Chill fruit before blending and serve immediately, or refrigerate up to 24 hours and remix before serving for consistent texture.
Sweeten or Add Flavor Enhancers
After you’ve adjusted texture, you can fine-tune flavor by adding sweeteners or enhancers in small increments.
Start with a teaspoon-sized portion of your chosen sweetener—honey, agave, maple, date syrup, or dissolved granulated sugar—and stir, then taste.
For calorie-free sweetness, use stevia sparingly. Dissolve white or brown sugar in a little warm water first to prevent graininess.
Add a single pinch of salt to reduce bitterness and boost perceived sweetness. For complexity, incorporate a drop (≈0.10%) of citrus essential oil, a split leaf of mint or basil, or a light dusting of cinnamon or ginger.
Consider vanilla to smooth acidity. Adjust slowly, tasting after each change, and aim for balanced sweetness near 10 °Brix without masking natural orange character.
Keep records of adjustments for consistency.
Strain and Chill for Serving
Pour your freshly blended or pressed orange juice through a fine-mesh strainer (lined with cheesecloth if you want extra clarity) into a clean bowl, working slowly so the pulp doesn’t clog the sieve.
After initial drainage, press or fold the cheesecloth to extract remaining liquid without forcing solids through. If using only a mesh, pass the juice through twice for greater clarity, clearing the basket frequently.
Keep juice cold while straining; chilled juice flows better and reduces pulp clumping. Transfer strained juice to a chilled pitcher or an ice bath–cooled container if you need it served immediately.
Stir gently before pouring to redistribute any settled micro-pulp. Serve promptly while cold for best texture and brightness.
Repeat straining for ultra-smooth juice when desired each time.
Store Safely to Preserve Freshness
Two things matter most when you store fresh orange juice: the right container and minimizing oxygen exposure.
Use glass (wide‑mouth mason jars, amber jars, or bottles) or stainless steel; avoid plastic. Sterilize containers (boil ten minutes), then fill immediately after juicing. Use smaller containers you can finish in one use, fill to the brim or slightly overfill, and seal hermetically. Vacuum sealers or hand pumps help remove air.
Refrigerate at about 4°C (39°F); expect 3–5 days’ freshness. For extended storage, keep near freezing (−1 to −3°C) under strict sanitation for up to a month; avoid routine freezing due to flavor loss.
Optionally add vitamin C/citric acid to slow oxidation. If pasteurizing, cool rapidly to preserve flavor. Label with date and use within recommended timeframe.
Conclusion
You followed ten clear steps, and now you hold bright, fresh orange juice that tastes like morning. You didn’t expect how a stray sunbeam would catch the peel’s oil as you squeezed, but that tiny coincidence sharpens the flavor and your smile. Keep the juice chilled, label and date the container, and sip within two days. You’ll notice how small choices—timing, strain, a pinch of salt—make each glass unmistakably yours and remember flavor rewards care.