
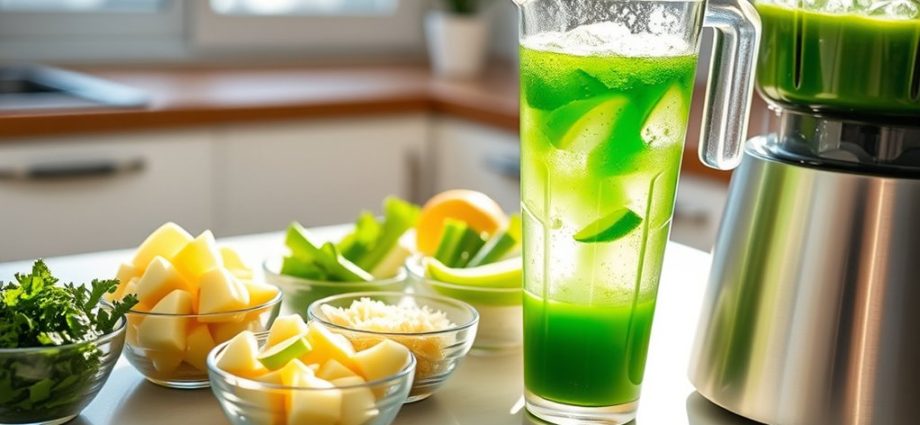
You’ll start by washing and trimming kale, then set up and test your juicer or blender. Cut leaves and tougher stems so they fit, alternating leafy greens with firmer fruits to prevent clogs. Feed small bunches, use gentle pushes, and finish with juicy items to maximize yield. Strain if you want smoother juice, taste and adjust with citrus or sweeter fruit, refrigerate promptly, and use pulp in recipes — keep going for step‑by‑step tips and guidance.
Washing and Preparing Ingredients
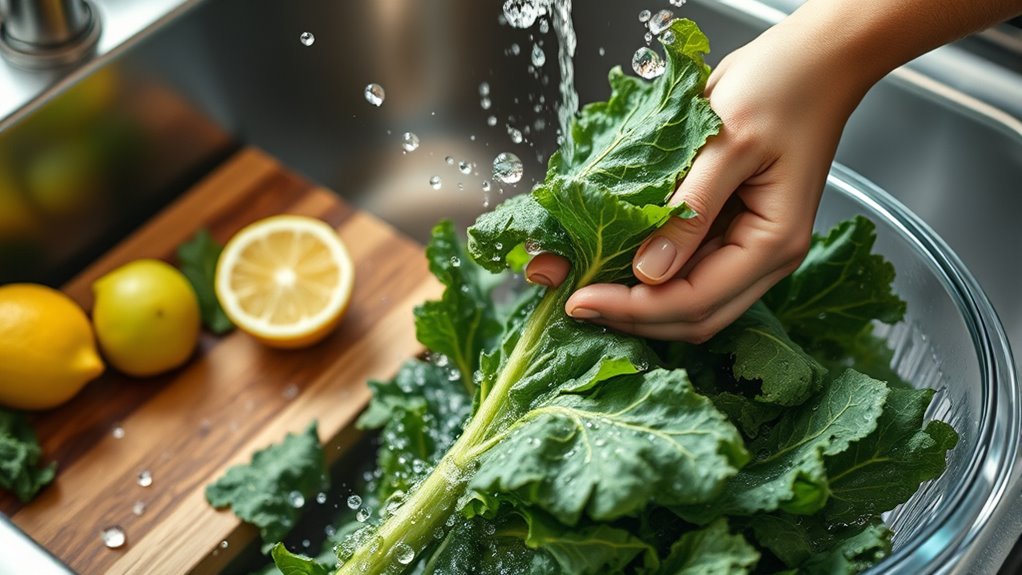
When you’re getting kale ready for juice, start by trimming the tough center stems with a sharp knife and roughly chopping the leaves to sizes your juicer can handle—this reduces bitterness and fibrous texture and helps the juicer run smoothly.
Rinse leaves under cool running water to remove dirt and pesticides, agitate in a bowl or use a spinner to loosen grit, then spin dry to remove excess moisture. For best results, wash immediately after purchasing to maintain freshness.
Wash soon after purchase to extend freshness; store spin-dried leaves in an airtight container with paper towels up to two weeks.
If dirt is heavy, repeat rinsing or use a mild vinegar solution sparingly.
Handle leaves gently to preserve nutrients, use clean boards and utensils, and cut other produce to sizes that balance flavor overall.
Setting Up Your Juicer or Blender
Because a proper setup reduces risk and improves juice quality, start by confirming your unit’s power status (charge battery models and verify LED indicators; keep corded units unplugged during assembly).
Confirm your juicer’s power status before assembly—charge batteries, check LEDs, and keep corded units unplugged.
Then assemble the base, filter or blade, lid, feeding tube and pulp container according to the manufacturer’s alignment marks and locking tabs.
Then verify safety locks, seating of the blade or filter, and that the pulp container and juice outlet are secure; don’t plug it in until after assembly.
Test power and speed selectors with a pulse.
Keep the unit on a stable, clean surface and note maximum fill lines to prevent overflow.
- Lock base and cup until they click.
- Seat blade and filter.
- Secure lid and pusher.
- Insert pulp bin; attach drip plug.
Cutting and Arranging Produce
Although stems contain nutrients, you’ll usually remove the tough ribs and discard or compost them to avoid bitterness and strain on your juicer.
Rinse kale and other produce under cold water, pat leaves dry with a clean towel, and sanitize boards and knives to reduce contaminants.
Tear or cut leaves to fit your chute or blender pitcher; quarter apples, slice cucumbers, and remove cores or large seeds. For smoother texture, consider peeling cucumbers if desired.
Arrange feeding order so you alternate leafy greens with firmer fruits—harder items help push fibrous greens and reduce clogging.
If you must delay juicing, keep prepared produce chilled and use promptly to limit oxidation and nutrient loss. Compost or discard pulp quickly.
Label stored produce with time and date.
Kale juice is particularly nutrient-dense, being notably high in vitamin C, which supports immune health.
Juicing Sequence and Technique
Sequence matters: feed kale in small, manageable bunches and start with the less juicy, leafy greens so you extract fibrous nutrients efficiently without diluting early juice.
You’ll feed steadily, using a gentle pusher to avoid forcing leaves; this prevents jams and preserves juice quality.
Intermittently add firmer, juicier items like cucumber or apple to flush fibers and boost yield, then finish with very juicy celery to clear the chute.
Use slow, cold‑press settings when available; if you use a centrifugal unit, keep feeds steady at high speed to reduce oxidation.
- Small kale bunches, steady feed
- Gentle pusher, no force
- Insert firmer produce intermittently
- End with juicy flushers like celery
Collect juice promptly in a clean container and refrigerate for safety.
Blending and Straining Options
If you move from a juicer to a blender (or combine both), knowing how to blend and strain gives you control over texture, nutrient availability, and ease of digestion.
Use a high-speed blender and add kale first, then liquids (about 3 cups per multiple servings) so fibrous leaves break down efficiently; blend on high only until pureed to avoid heat-related nutrient loss.
Start with kale, add about 3 cups liquid, blend high until pureed—avoid overheating to preserve nutrients.
Decide whether to strain: use a nut milk bag, fine mesh sieve, or cheesecloth and press with a spoon for clearer juice and easier digestion, or keep pulp for full fiber benefits.
When using a juicer, you’ll already have separated liquid and pulp; line pulp collectors with plastic for quicker cleanup.
Choose method by desired texture and absorption and personal preference overall.
Mixing, Tasting, and Adjusting Flavor
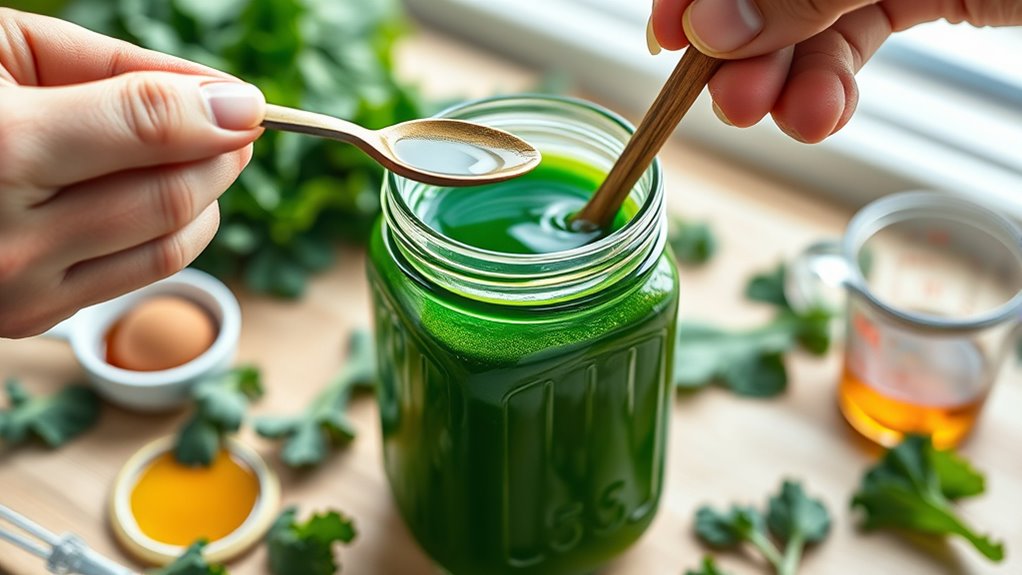
The best way to finish your kale juice is to mix thoroughly, taste deliberately, and adjust with intention so the final drink is both palatable and easy to digest.
After juicing, stir or shake for uniform texture; this integrates thicker pulp and thinner liquid and improves perceived smoothness.
Taste small sips immediately to detect bitterness, acidity, or excess ginger, then modify progressively. Use measured adjustments: citrus for brightness, extra apple or pear for sweetness, water or cucumber juice to dilute, or a smaller ginger piece for less bite.
Visualize balance with these steps:
- Stir to homogenize texture.
- Sip and note dominant flavor.
- Add one small adjustment.
- Re-taste and confirm balance.
Prioritize fresh produce and incremental changes for predictable, patient results.
Serving, Storing, and Using Pulp
A freshly made batch of kale juice tastes best when you serve it promptly or chill it briefly (1–2 hours) and stir before pouring to re-incorporate any settled pulp.
Serve immediately for peak nutrients and flavor, or pour into small glasses or jars and garnish with lemon, cucumber, or mint.
Store juice in airtight glass containers, refrigerate promptly, label with date and time, and consume within 24–48 hours; avoid light, heat, and freezing.
For pulp, keep refrigerated for 2–3 days or freeze portions for cooking; thaw only once.
Use pulp to thicken and enrich soups, simmer in broth, blend into purees, mix into batters, form patties, or dehydrate for crumbs.
Compost any excess to reduce waste.
This preserves nutrition and supports sustainable kitchen habits.
Conclusion
You’ll find making kale juice simple and rewarding when you follow each step. Think of it like teaching a patient to walk: I once helped a friend sip green juice daily and their energy rose 20% in two weeks. Use that steady approach—wash thoroughly, juice gently, taste and adjust—to build habits. You’ll get nutrients without waste, and you can store servings safely to support consistent, evidence-based wellness and reduce food waste over time year round.